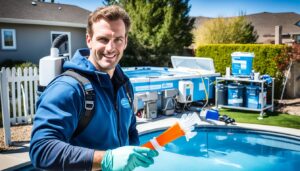
The long winter is finally over. The days are getting longer and the temperatures are rising. Soon it will be warm enough to open the pool. If you are a first time pool owner, or want to save a little money, this article will go through the steps of how to open your swimming pool. Most of the tasks can be accomplished by a single person, but you may want some help when removing the cover, as they can be heavy and awkward.
Step 1. Remove the Cover
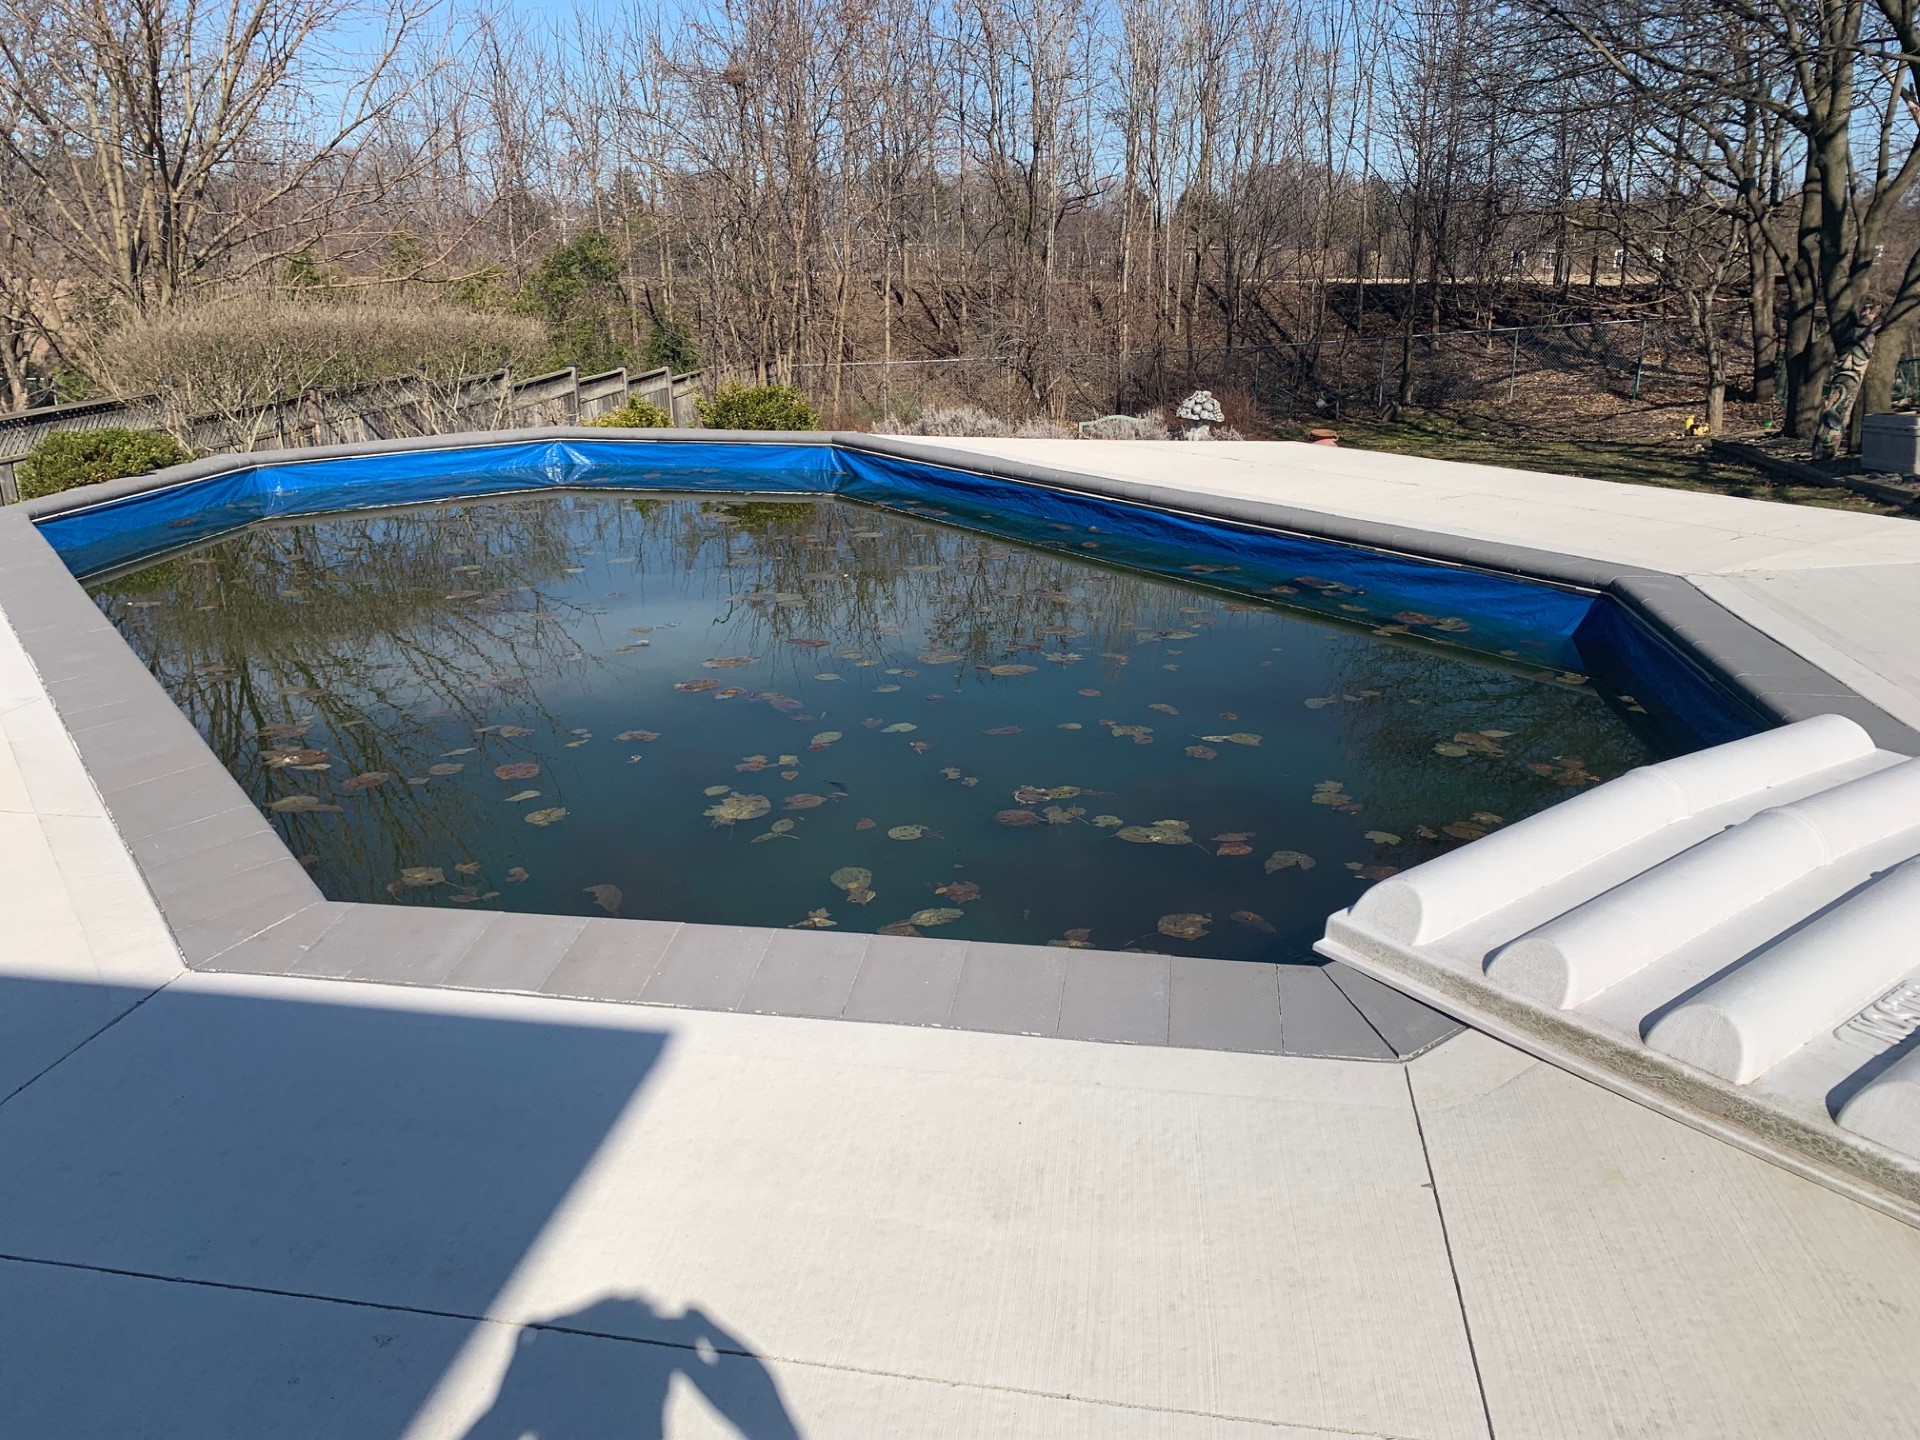
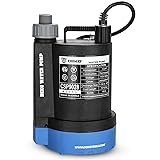
If you have a solid cover that holds the water on top of it, you will need to get rid of the water to make the cover light enough to remove. The quickest way to do this is with a submersible pump. Simply connect the hose to the pump, run the hose to where the water can be disposed of, put the pump in the water and plug it in. As the water drains the remaining water on the cover should flow towards the pump.

In my case, I have a large sloped yard so I let gravity do the work. I simply put a garden hose in the pool and syphon the water out. It takes a little longer, but it is basically free, and makes no noise.
Any water that is left from either of these methods can be emptied using a pail.
The type of cover you have will determine the next step. If you have a safety cover that clips into your patio, simply remove the clips and the cover. If you have a cover held on by water bags or other weights, once the water is off the cover, simply move the weights off the cover and remove the cover. You can then empty the water from the water bags and store them. My pool has a cover that clips into the edge of the walls above the top of the liner. There are rubber strips that hold the clips in place, so once you remove the strips you can pull out the liner. This is where you need some help as you need to keep the cover out of the water as you remove it. If water gets on the top, it will get too heavy to lift off, and the dirt from the top of the cover could get in the water making it more difficult to prepare the water for swimming.
Once the cover is removed, find a flat place where you can spread it out, such as the driveway, so you can wash it off. Use the hose, or better yet a power washer if you have one. Once you have cleaned and dried the cover, you can store it. If your cover is like a tarp, you can simply fold it up and store it in a bin. If it is a rubbery material, it needs to be kept wet or it will crack. Get a large garbage bin, put the cover in and top up with water. You may need to put something heavy on top of the cover to weigh it down under the water. Put on the cover and it will be ready to go in the fall.
Step 2. Raise the water level of the Pool
When closing the pool, the water level needs to be dropped below the jets so the water can be purged from the system. The water needs to be raised back above the jets.
Step 3. Remove plugs from the jets and skimmer
As the water is filling, you need to remove the plugs from the jets and replace with the nozzles. You might need a large wrench to do this. It is also easier to put in the nozzles before the pump is running. Also, there should be something called a Gizmo screwed into the bottom of the skimmer. This was used to keep water from getting into the system through the open skimmer. This Gizmo can be removed and stored until the fall.
Step 4. Install the Lights if you have them
Another part of the pool closing is removing the lights from the walls so they can be placed below the water level. The lights should be put in plastic bags with weights to hold them down. Take them out of the bags and put them back into their spots in the wall. They should simply screw in place.

Step 5. Re-connect the salt system and pump if needed
If you have a salt water pool, the salt cell would have been removed and stored in a dry place. Simply use the salt cell wrench to remove the temporary cap and replace it with the salt cell. Reconnect the diodes and then tighten again with the wrench. Also as a part of the winterizing of the pool, your pump may have been disconnected and stored indoors. This is to help prolong the life of your pump, as the cold winter temperatures, snow and ice could speed up corrosion inside the pump. Corrosion buildup leads to seizing of the impeller inside the pump, and pumps can be expensive!
Step 6. Put plugs back in the pump, filter and heater
You should have a bunch of plugs that were removed during winterization. These we removed to empty all water out of the system. There should be one for the heater, one or two for the filter, and one or two for the pump. Simply hand tighten them.
Step 7. Start the Pump
Once the water level is back above the skimmer, all jets are open, plugs are in and all pipes are connected, it is time to start up the pump. First make sure the breaker is turned on. Then you will want to get a large pail of water to prime the pump. This is to get water into the system so suction can be established by the pump. Shut off the flow of water from the pump outlet to the pool, and open the inlet pipe from the pool to the pump. Open up the top of the pump and fill the pump and inlet pipe with water. Close the pump cover and start the pump. It may take a few seconds for the suction to get water flowing. If it doesn’t get suction, try adding more water. Once suction is established, open the outlet valve and the water should flow to the pool. It may take a few tries to get the pump primed properly and water flowing.
Step 8. Vacuum the pool
Depending on what your water was like when you closed the pool, the type of winter cover you had, and how smoothly removing the cover went, you may or may not have to vacuum your pool. Now that you have your pump running, you might as well give you pool a good cleaning to get rid of any large leaves and debris before you put the chemicals in.

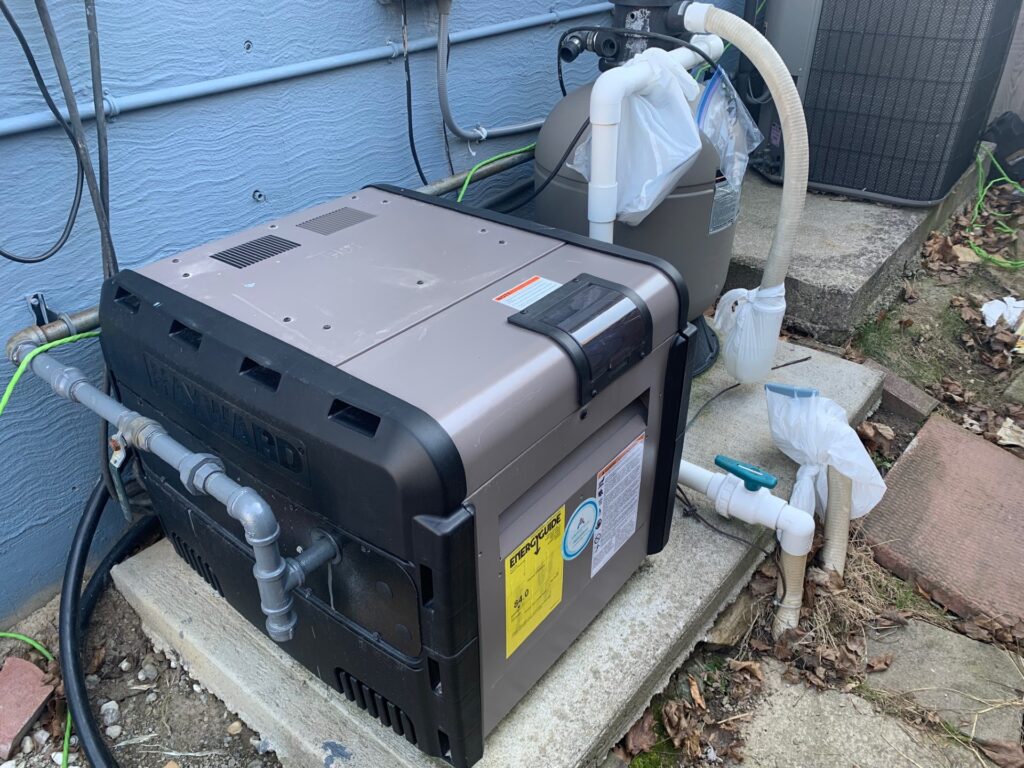
Step 9. Test out the heater
If you have a gas heater like I do, there are a few things to do before you start it up. First, check that the breaker is turned on. There also may be a on/off switch inside the heater itself, like my Hayward heater. I have had some pool companies turn this off during closing, and others not, so it is best to check. There will be some screws holding the front cover on the heater, so just remove those and remove the cover. If you see a knob that is set to Off, turn it to On and then replace the cover. I found out about this switch the hard way as I couldn’t get my heater started and had to call a repair man. Once this is checked, simply turn on the gas feed, make sure your pump is running and start the heater. You might want to take a step back from the heater when it first starts as it can make quite a pop, just like a BBQ starting up only bigger. Once the heater has started you can either continue to heat your pool or turn it off again until you are ready to swim.
Step 10. Take a water sample to be tested and add chemicals
Now that your pool is running, you need to make sure the water is good for swimming. You can get home test kits but I find it easiest to take a water sample to your favourite pool store to get the water tested. They will recommend what you need to add to your water to make it perfect for swimming. For salt water pools they will recommend how many bags of salt to add, and what setting to have your salt system at. For chlorine pools, and for dirty water from the winter, they will recommend shocking the pool with chlorine to clean the water. The pool company should provide detailed instructions on what chemicals to add, in what amounts, in what order, and how far apart. You usually are recommended to add chemicals at night so depending on how many you need to add, you should plan on getting the water tested a few days in advance of when you are planning your first swim.