Are you ready to upgrade your kitchen with a new faucet? Replacing an old kitchen sink faucet or installing a new one might seem hard. But, I’m here to make it easy for you. This guide will walk you through simple steps to install your new kitchen faucet. You’ll learn how to prepare, install, test, and flush the faucet. By the end, you’ll be ready to do it yourself and save money.
Key Takeaways
- Gather the necessary tools and materials for a successful faucet installation
- Shut off the water supply and disconnect the existing faucet
- Select a new faucet that fits your sink’s configuration
- Install the new faucet, connect the water lines, and secure the mounting hardware
- Test the new faucet to ensure proper operation and flush the lines
Prep for Installation
Before you start installing a new kitchen faucet, make sure you have all the tools and materials ready. You’ll need an adjustable wrench, a basin wrench, a small bucket, a putty knife, and the new faucet with its supply lines. Also, turn off the hot and cold water valves under the sink, and any electrical outlets or garbage disposals that are in the way. These steps will make the installation smooth and efficient.
Gather Necessary Tools and Materials
- Adjustable wrench
- Basin wrench
- Small bucket
- Putty knife
- New kitchen faucet with supply lines
Turn Off Water Supply and Electrical Outlets
- Find the hot and cold water valves under the sink and turn them off to stop the water flow.
- Disconnect any electrical outlets or garbage disposals that could get in the way of the faucet.
By getting ready like this, you’re setting yourself up for a successful kitchen faucet installation. Always put safety first and follow the instructions for your faucet model.
| Tool | Purpose |
|---|---|
| Adjustable wrench | Loosen and tighten faucet connections |
| Basin wrench | Access and remove the old faucet |
| Putty knife | Clean the sink surface after removing the old faucet |
Shut Off Water Supply Valves
Before you start replacing your kitchen faucet, make sure to turn off the water supply. This step is key to avoid leaks or flooding during the installation. Look for the hot and cold water valves, also called angle stops, under your sink.
Turn these valves clockwise to stop the water flow. If your kitchen lacks these valves, you’ll need to turn off the main water line. This is usually found in the basement, crawl space, or near the water meter.
- Locate the hot and cold water supply valves, also known as angle stops, under your kitchen sink.
- Turn the angle stop valves clockwise to shut off the water flow.
- If you don’t have individual supply valves, turn off the main water line for your house.
Turning off the water supply is a vital first step in replacing your kitchen faucet. It ensures you can work safely without worrying about leaks or damage. With the water off, you can then remove the old faucet and install the new one.
| Step | Action |
|---|---|
| 1. Locate angle stops | Find the hot and cold water supply valves, called angle stops, under your kitchen sink. |
| 2. Turn off angle stops | Turn the angle stop valves clockwise to shut off the water flow. |
| 3. Turn off main water line | If you don’t have individual supply valves, turn off the main water line for your house. |
“Shutting off the water supply is a critical first step in the kitchen faucet replacement process, ensuring a safe and successful installation.”
Disconnect Existing Water Supply Lines
Before you install a new kitchen faucet, you need to disconnect the water supply lines from the old one. This step is key for a smooth faucet replacement. We’ll cover how to safely disconnect the water supply lines and remove the old faucet hoses.
Start by finding the water supply valves behind the sink or cabinet. These valves control the water flow to the old faucet. Use an adjustable wrench to turn the supply line nuts counterclockwise and loosen them from the valves. Make sure to hold the water pipes steady as you do this to avoid any damage.
- Disconnect the water supply lines from the old faucet’s hot and cold water valves.
- Remove the faucet supply hoses by unscrewing the threaded nuts that hold them to the faucet.
- Remember the length and position of the supply lines for the new faucet installation.
After removing the water supply lines and hoses, you can take out the old faucet. This makes way for the new kitchen faucet. Keep your workspace clean and tidy as you go to make the next steps easier.
“Carefully disconnecting the water supply lines is crucial to avoid any potential leaks or damage during the faucet replacement process.”
Remove Faucet Connections and Old Faucet
Now that the water supply is off, it’s time to take out the old kitchen faucet. You’ll need a special tool called a basin wrench for this. It helps loosen and remove the hardware that holds the faucet in place.
Use Basin Wrench to Loosen Faucet Connections
The basin wrench has a ratcheting head and a pivoting handle. This lets you reach and grip the faucet connections under the sink easily. Use the basin wrench to loosen the nuts that keep the faucet in place. It might take some effort, but the wrench makes it easier than by hand.
Clean Sink Surface After Removing Old Faucet
After removing the old kitchen faucet, the sink needs cleaning. Use a damp cloth to wipe away any dirt, mineral buildup, or old faucet residue. This makes sure the sink is clean and ready for the new faucet.
| Step | Action |
|---|---|
| 1 | Use basin wrench to loosen faucet connections |
| 2 | Remove old faucet from sink |
| 3 | Clean sink surface thoroughly |
Select New Faucet Based on Sink Holes
Choosing a new kitchen faucet means looking at your sink’s holes. The number and where they are will guide you to the right faucet type. You might need a single-handle, two-handle centerset, or a widespread faucet. Make sure to measure the space between holes to pick the perfect fit.
Think about what you want from your new faucet too. Do you need a pull-down sprayer or extra holes for soap dispensers or filtered water taps? Consider your needs and likes to pick a faucet that fits your sink and meets your needs.
- Measure the distance between sink holes to determine the right “spread” for your new faucet
- Consider single-handle, two-handle centerset, or widespread configurations based on your sink setup
- Look for additional features like pull-down sprayers or accessory holes to enhance your kitchen experience
“Choosing the perfect kitchen faucet starts with understanding the existing sink configuration. This ensures a seamless, functional installation that elevates the aesthetic and usability of your cooking space.”
By carefully matching your new kitchen faucet to the existing sink holes, you get a beautiful and useful solution. The right faucet means better water flow, easier cleaning, and a new look for your kitchen.
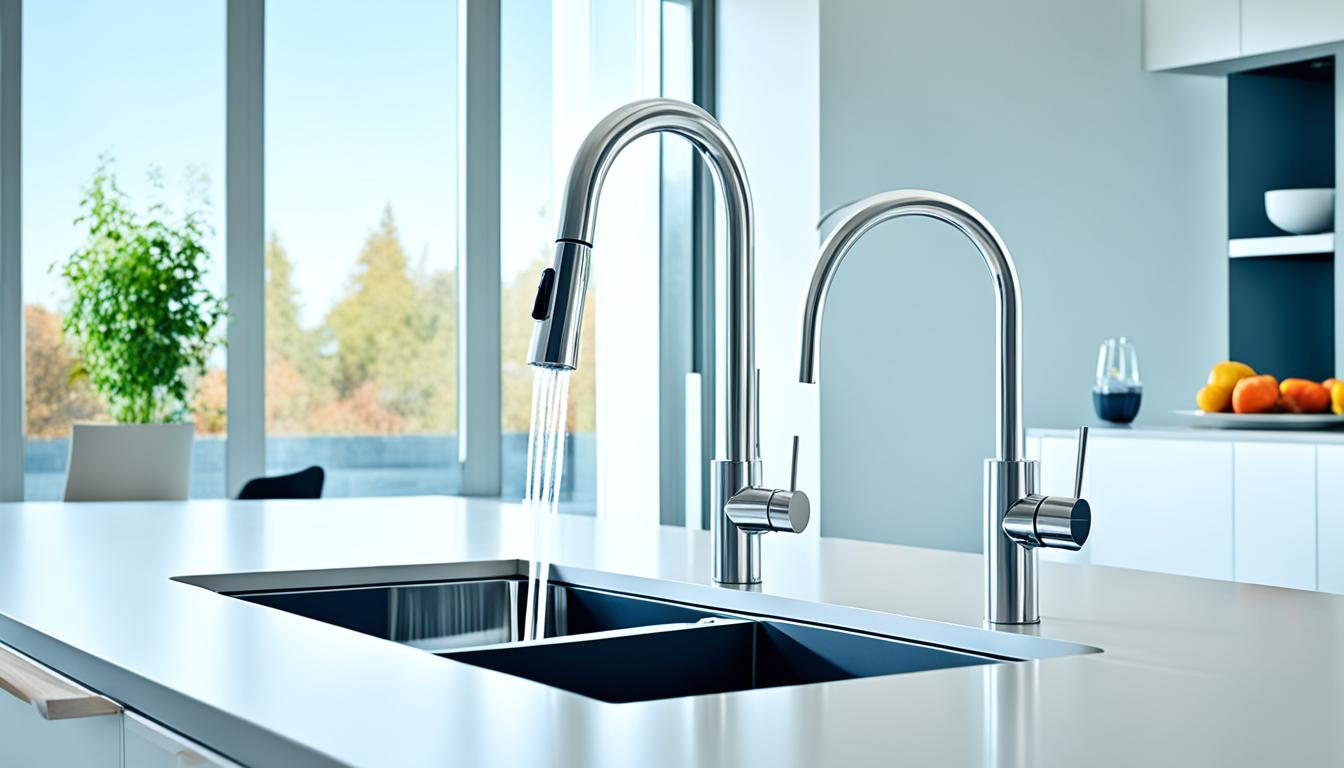
Install New Kitchen Faucet
Putting together and placing your new kitchen faucet is key to the installation. Make sure to follow the manufacturer’s guide closely for a secure fit. Let’s look at the steps.
Assemble Faucet and Position It
Start by assembling the new kitchen faucet as the instructions say. This might mean attaching the supply lines, sprayer hose, and any needed gaskets or trim rings. After it’s all put together, carefully push the faucet lines through the sink hole(s). Then, place the faucet where you want it on the countertop.
Secure Faucet with Mounting Hardware
Once the faucet is where you want it, it’s time to secure it with the included washers and mounting nuts. Tighten everything evenly so the faucet fits snugly against the countertop. It helps to have someone hold the faucet while you do this.
By doing these steps, you’re on your way to correctly placing and securing your new kitchen faucet in the sink. Always check the manufacturer’s guide for any specific steps that might differ from one model to another.
how to install kitchen faucet
Now that your new kitchen faucet is in place, it’s time to connect the water supply lines. This step is key for a leak-free installation. Let’s go through how to attach the hot and cold water lines to your new faucet.
Connecting the Water Supply Lines
Start by wrapping Teflon tape on the threads of the hot and cold water valves. This helps create a tight seal to prevent leaks. Then, use an adjustable wrench to tighten the nuts that hold the supply lines to the valves. Make sure to keep the water supply pipes steady while doing this to avoid damage.
It’s crucial to make sure the hot and cold water lines are connected to the right valves before turning the water on. This ensures the faucet works right, with hot water from the correct side.
| Step | Task |
|---|---|
| 1 | Wrap Teflon tape around the threads of the hot and cold water supply valves. |
| 2 | Use an adjustable wrench to tighten the nuts attaching the supply lines to the valves. |
| 3 | Double-check that the hot and cold water lines are connected to the proper valves. |
By carefully connecting the water supply lines to the new kitchen faucet and attaching the hot and cold water lines right, you’re on your way to a great faucet installation. Next, we’ll cover the final steps to test and flush the new setup.
Test and Flush New Faucet Installation
Congratulations! You’ve installed your new kitchen faucet. Now, make sure it works right. First, check for leaks around the new faucet connections.
Turn the water supply valves back on slowly and look closely at the area. If you see any dripping, use a wrench to tighten the nuts until it stops. This keeps water damage away and makes the installation last longer.
Then, flush out the faucet lines. Remove the faucet’s aerator and turn on the water for a minute or two. This clears out any debris from the installation. Once the water is clear, put the aerator back on.
Your new kitchen faucet is now ready to use! Test all its functions, like turning the handles and adjusting the water flow. With these steps, you can be sure your faucet is installed right and will last for years.
“Proper installation and testing are the keys to ensuring a successful and long-lasting kitchen faucet upgrade.”
Conclusion
By following this guide, I’ve installed a new kitchen faucet and upgraded my sink’s look and function. It was rewarding to do it myself and save money. I also learned a valuable home improvement skill.
First, I prepared for the installation by shutting off the water supply and disconnecting the old faucet. Then, I picked the right replacement faucet. Assembling the new faucet, securing it, and connecting the water lines were key steps for a leak-free installation.
With some effort and focus, I’ve made my kitchen sink look better and work better. This guide has given me a sense of pride and confidence for future DIY projects.