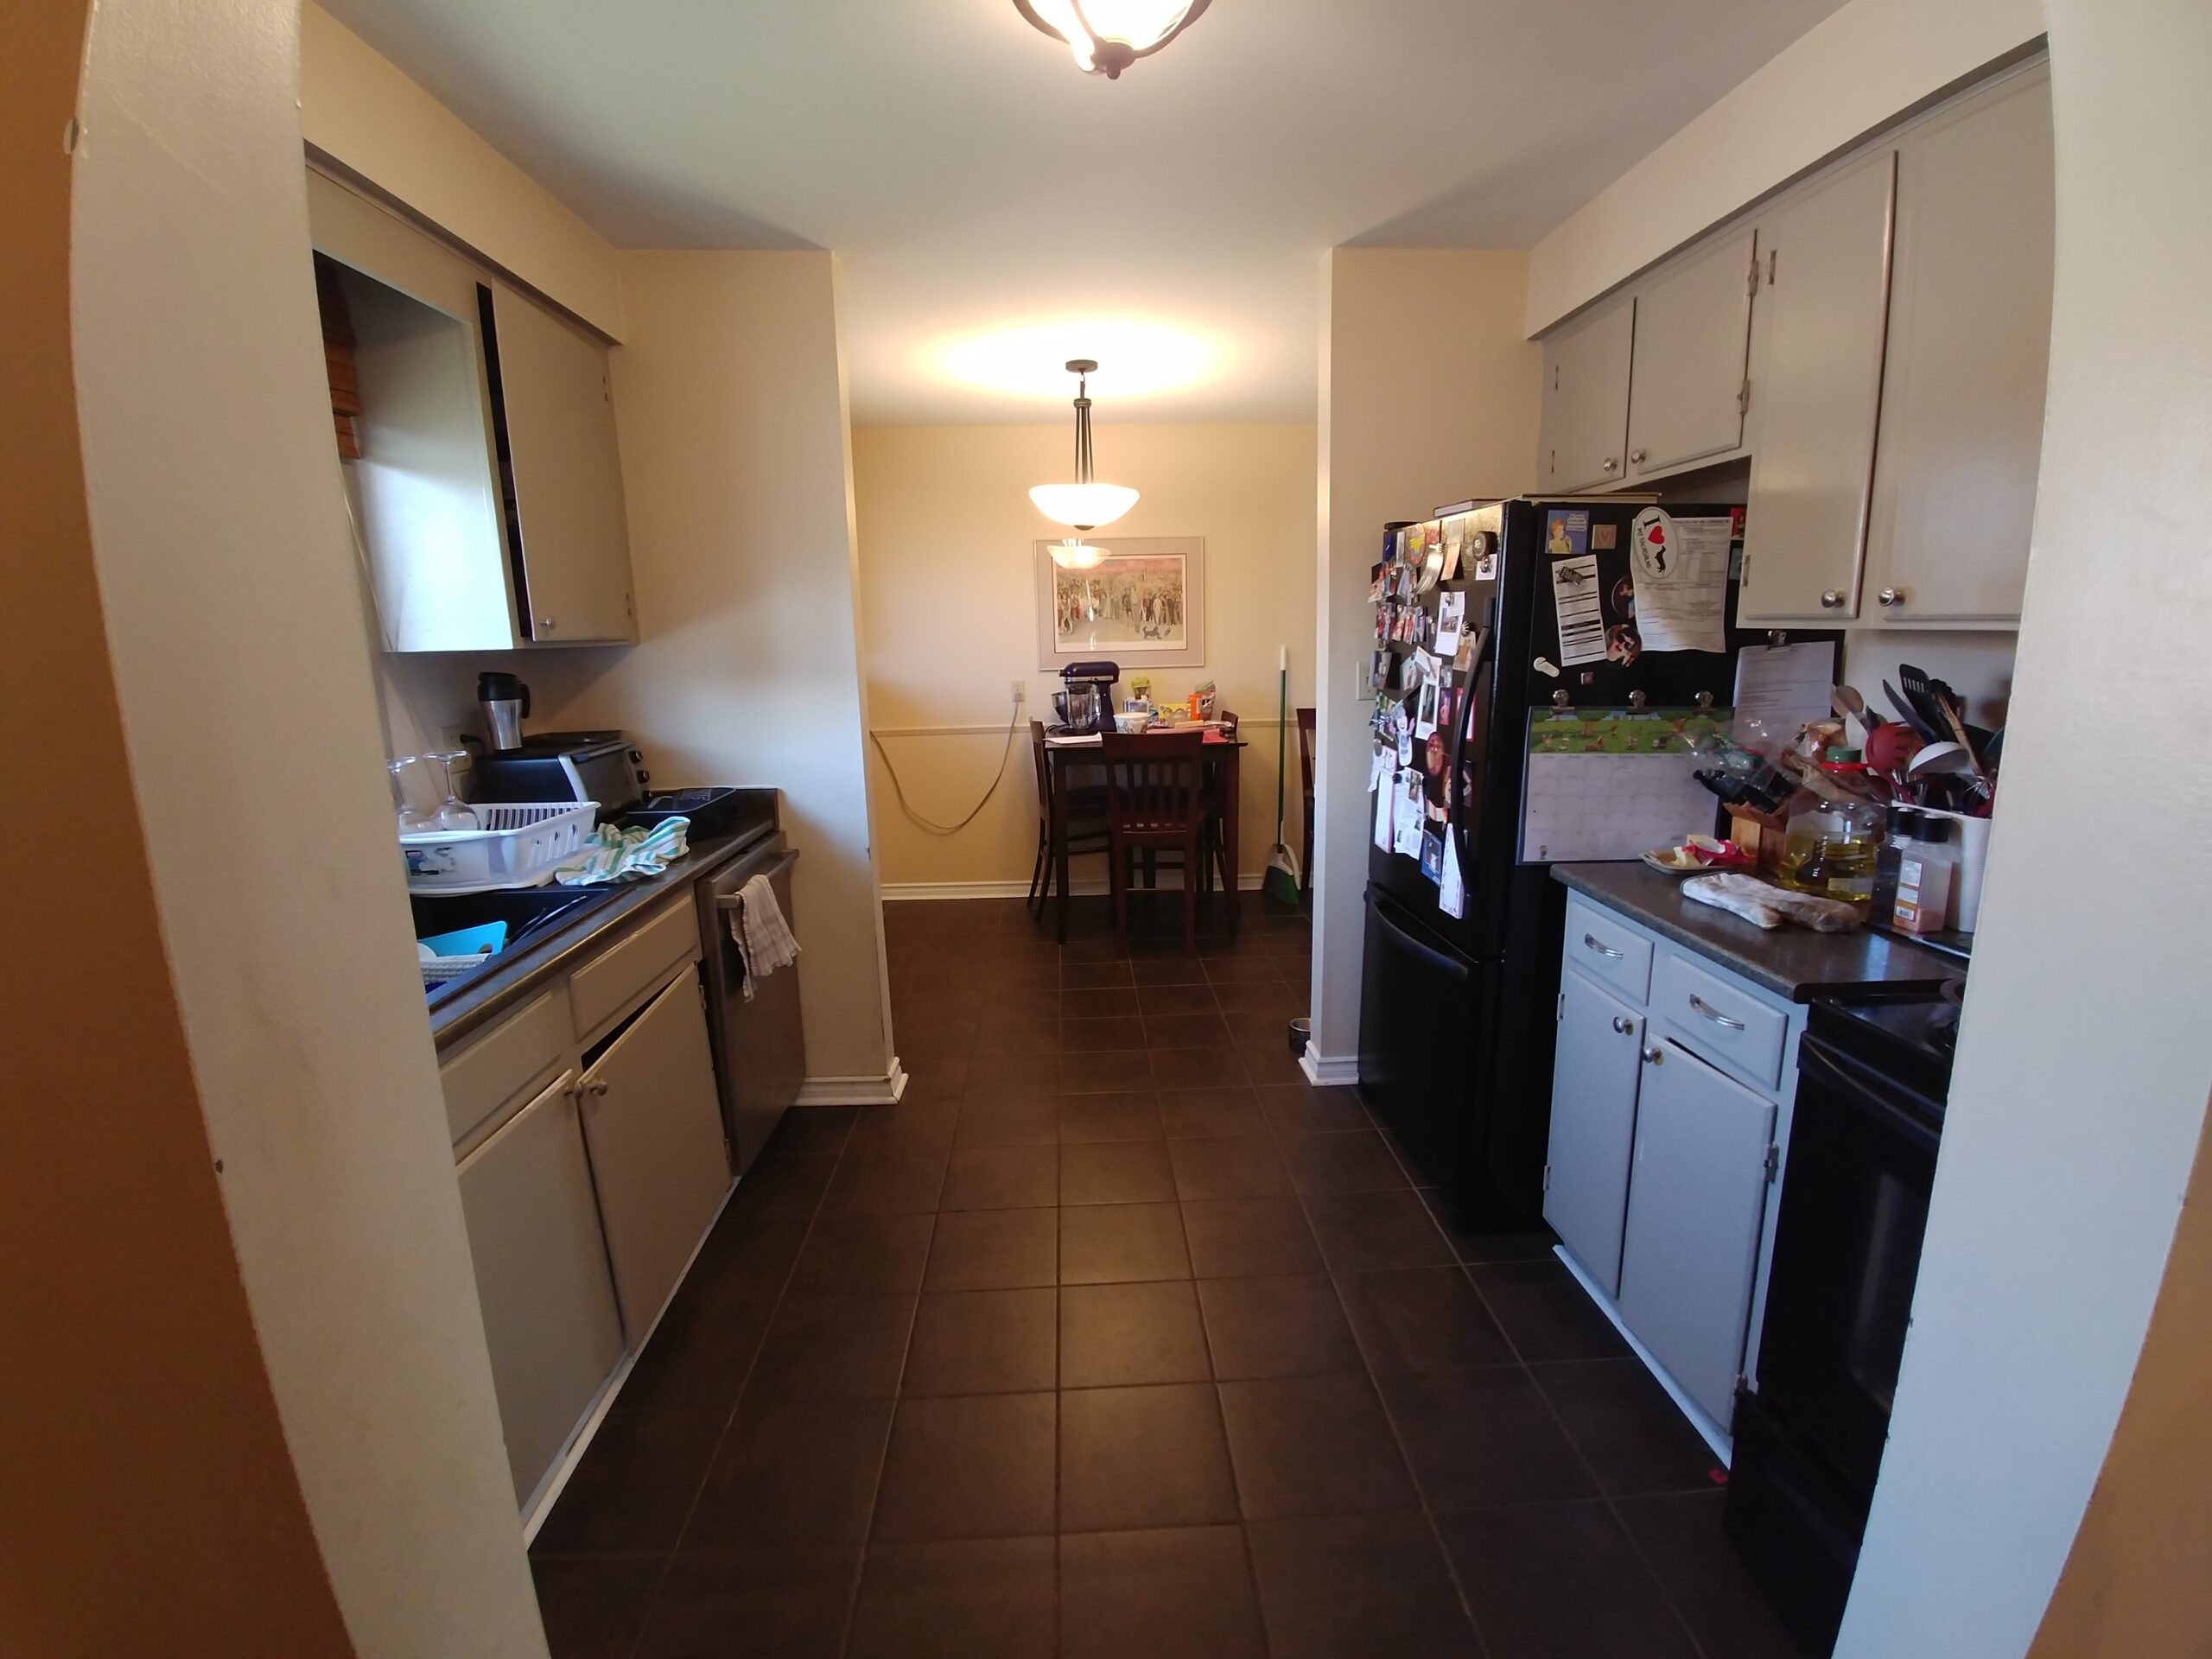
We bought our house knowing the kitchen was dated and needed a refresh. Unfortunately, money was tight, and we had lots of more urgent things we needed to do to the house, so we decided for the “lipstick on the pig” approach. The layout of the kitchen wasn’t the best, but we knew we couldn’t change that. What we decided to do was paint the walls and existing cabinets, upgrade the flooring, install a dishwasher, change the countertops, change the sink and faucet, and update the lighting. We also changed the fridge and stove to match the new dishwasher. Here is my DIY kitchen refresh.
Painting
One of the easiest ways to refresh a room, a fresh coat of paint on the walls can change the whole design of the kitchen. All of the other details, light fixtures, counters, cabinets, flooring and window coverings all work together with the paint colour for the overall design. We decided to go darker with the flooring, appliances, counters and cabinet colour so we went with a lighter colour on the walls. It was fun going to Home Depot and laying the tile and countertops together to pick the right paint. Make sure you get the best quality paint you can afford that will resist stains and clean easily. Some of the tools and equipment needed for painting include:


- Wall repair putty/spackling – to fill in any holes that may be in the walls from pictures
- Putty knife – to apply the putty
- Sandpaper – to smooth any rough spots from repairs or previous paint
- Paint – best quality possible
- Paint brushes – small brushes for “cutting in” the edges and for trim
- Paint rollers – for painting larger surfaces
- Paint trays – handheld trays for brushes and large trays for rollers
- Drop cloths – protect your floors from drips
- Painters tape – protect other surfaces that you don’t want to get painted
The steps involved in painting the kitchen walls:
- Take any pictures, clocks, other hanging items off the walls
- Use the putty and putty knife to fill in any holes, scratches, or other damage to ensure you freshly painted walls are smooth
- When the putty is dry, use the sandpaper to smooth any rough spots in the putty and any other rough spots on the walls
- Tape around the edges of surfaces you are painting so you don’t accidentally paint something you don’t want to
- Put the drop cloths down to protect the floors
- Open the paint and stir it if it has been sitting for a few days
- Put some paint in the smaller paint tray and use the paint brush to paint around the edges of the walls and in the corners as the roller will not paint these parts very well. This is called “cutting in”. This is also where the painters tape will help give you a nice straight edge
- When you are done the the first coat with the brush, put some paint in the larger tray and use the roller for the larger surfaces
- I would recommend 2 coats of paint for a kitchen because you may be washing then quite often and 2 coats will make the paint more durable
- Put any unused paint back in the can and seal it well, so you have some for any touchups when needed
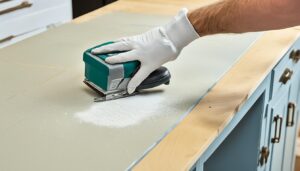
The steps for painting the cabinets:
- If you have a garage or backyard, it can be easier to remove the cabinet doors/drawers and paint them where you can lay them flat. However, if you don’t have the space, or have trouble removing the doors, they can be painted in place
- Tape off any walls and/or hardware that you don’t want to paint. The door/drawer hardware can also be removed in this step
- Use a brush for the smaller trim and edges of the cabinets, and the roller for larger surfaces.
- If you kept the doors on, make sure you keep them open while the paint dries so they don’t dry shut
- Again, 2 coats would be recommended
- When the paint is dry, remove any tape, replace hardware and doors/drawers
- Put any unused paint back in the can and seal it well, so you have some for any touchups when needed
Replacing Countertop
There are many types of materials that can be used for countertops such as granite, quartz, laminate, wood, tile and even concrete. Depending on your budget and skill level, one of these options will be right for you. At this time we chose a laminate countertop from Home Depot. There are a few colour and pattern options to choose from, so you just found the size you needed, loaded it on the cart and brought it home. We simply had to cut it to the correct length and attached it to the base cabinets. We ran into a bit of an issue because one of the counters in our kitchen wasn’t the standard depth, and we purchased “L” shaped counters that had a lip at the back. I simply had to use a table saw to cut the counters to the correct depth and everything worked out fine, it was just a bit of a shock when I tried to install the counter and it didn’t fit. If there are exposed ends of the countertop, you will get an extra piece of laminate that you glue onto the end so it looks finished. Once the countertops are installed you can use a drill and jigsaw to cut the holes for the faucet and sink.
Tools required for replacing the old countertop with a new laminate countertop:


- Tape measure – to measure the size of countertop to purchase
- Screwdriver – to disconnect the old counter from the base cabinets and connect the new one and to disconnect the sink from the old countertop
- Adjustable wrench – to disconnect the plumbing and remove the faucet from the old counter
- Prybar – you may need a prybar to help disconnect the old counter from the cabinets and/or the walls
- Saw – jigsaw/circular saw/table saw needed to trim the new countertop to the correct size. The jigsaw will also be used to cut the hole for the sink
- Drill – needed to drill holes in the new countertop for the faucet and to drill a starter hole for the jigsaw to cut out the hole for the sink
- Adhesive – to glue the laminate onto the exposed end of the countertop, sometimes an iron is needed for this
- Caulking gun and caulking – Needed to seal the edges on the sides and back of the countertops to keep water from damaging the walls behind the cabinets
- Utility knife – to trim the laminate on the ends of the countertops if necessary and to open the caulking
Steps to replace the countertop:
- Measure existing countertops
- Purchase your new laminate countertops. If they don’t have the exact size you need, just purchase the next bigger size and cut it to the correct dimensions. Now is also a good time to get a new sink and faucet to add a nice update to your kitchen
- Turn off the water to the sink. If you don’t have local shutoff valves under your sink, you will have to shutoff the water to your entire house
- Disconnect the faucet and sink from the plumbing
- Loosen the screws that hold down the sink and remove the sink. Be careful that you don’t put the sink down on anything nice, as the pipe from the drain might scratch
- Loosen the screws that are holding the countertop on. These will be in the corners in the base cabinets. You might have to remove some drawers to find them
- Carefully remove the countertop
- Remeasure the space for the new countertop. Cut the new countertop to the correct dimensions
- Install to new countertop and use screws in the same locations to fasten it to the base cabinets
- If you are using the same sink as before, use the hole from the old counter as a template. Get a large piece of paper and trace to hole. Tape this template to the new counter where you want the sink to be. A new sink will come with its own template for you to use. If the sink is completely inside the counter, you need to drill a hole inside the hole of where the sink will be so you can start cutting with the jigsaw. Cut out the entire hole for the sink. If the faucets require their own holes, drill those as well
- Install the sink. Hopefully you cut your hole to the correct size. If it is too small and the sink doesn’t sit flush, just use your jigsaw to make the hole bigger where it needs to be. If the hole is too big and the sink falls through, repeat steps 1-10. Use the sink brackets to attach the sink to the countertop
- Connect the sink to the drain. If your sink is in the exact same spot it should meet the existing drain, but if it isn’t then you may have to do some plumbing to move the drain. Plumbing like this will be discussed in another post
- Install the faucet. This may be into holes in the sink or in the holes you drilled into the countertop
- Connect the faucet to the plumbing. Turn the water back on and try it out. Check for drips in the water supply lines and drain connection and tighten if needed.
- If your counter has exposed ends, attach a laminate piece where needed and trim to fit
- Caulk along the side and back of the countertop, and around the sink and faucets
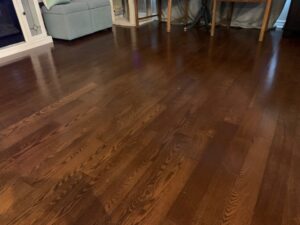
Replacing the flooring
The existing flooring was ugly old linoleum that needed to go. I had tiled a floor once before, and wanted to improve on my last performance, so we found an inexpensive black tile that went with the look we wanted. The linoleum was in fairly good condition, and there didn’t seem to be any soft spots in the floor, so I decided to tile right over top.
Tools required to tile the kitchen floor


![LEAKTITE 1GL Gallon lon White Plastic Pail[Lid not included] 1 Count (Pack of 1)](https://m.media-amazon.com/images/I/71jd4-bLPfL._SL160_.jpg)


- Tape measure – to measure the floor
- Pencil or chalk line – to mark guide lines for the tiles
- Tile saw – purchased an inexpensive wet tile saw as an investment for future projects, but this can be rented as well
- Tiles – Calculate the area you are tiling and divide by the area of 1 tile to determine the number of tiles you need, then add 10% for cuts and mistakes
- Tile adhesive (mortar) – mix yourself is less expensive, but pre-mixed is much easier to use
- Bucket – for the mortar if you are mixing your own
- Drill with mixing paddle – for mixing the mortar
- Tile grout – same rule as for adhesive. Comes in many colours to go with your design. Also, depending on the size of the gap between the tiles, you may need sanded grout
- Spacers – Determine your desired tile spacing, then get that size of spacer to keep your tiles aligned while the mortar is drying
- Level – to make sure the tiles are level with each other
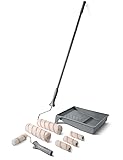
- Notched trowel – to apply the mortar to the floor. The recommended notch size is based on the size of the tiles being installed
- Grout float – used to apply the grout in between the tiles after the mortar has dried
- Sponges and bucket of water – used to clean off the excess grout
- Rubber gloves – to help keep you clean
- Grout sealer – used to seal the grout to protect it from staining
Steps to install a tiled floor:
- Clean off existing floor/surface that your are applying the tiles to
- Determine the longest stretch of floor you are installing. It will look best to have a complete line of full tiles in that direction.
- Using a chalk line or pencil, draw a straight line down this longest section. This will be used as a guide for your tiles as you install them.
- If you bought mix your own mortar, follow the directions and prepare the mortar. If you are tiling a large area, only mix a small amount at a time. It is recommended to only mix enough to be used in a half hour, but if this is your first time tiling, you won’t know how much that is. Just try an amount and you can adjust it next time if it starts to dry out before you are done.
- Get your spacers ready
- Apply the mortar to the floor using the notched trowel. Spread in to an even thickness with the notched side of the trowel at a 45 degree angle. Spread enough to make an area slightly larger than 2 or 3 tiles. Make sure you start exactly at the edge and along your pencil line.
- Set the first tile exactly at the edge of your area, and make sure the edge is exactly on the pencil line. Give the tile a few light taps with your fist. Carefully clean up any mortar along the outside edges of the tile
- Set the next tile directly next to the first tile, along the pencil line again. Put a spacer about an inch in from each end between the 2 tiles. Give a tap on the second tile with your fist and try to move it towards the first tile slightly to make sure the gap is exactly the size of the spacers
- Use the level to check that the tiles themselves are level and that they are the same height off the floor
- Repeat this until you reach the other end of the longest section. Stop when you can no longer add a complete tile. We will come back and do the cut tiles after
- Go back to where you installed the first tile and add mortar beside the first tile.
- Repeat the installation steps, and this time put spacers between your freshly installed tiles and the first row of tiles as well.
- Continue these steps in as many full tile rows as you can
- Once all of the full tiles have been installed, it is time to start cutting tiles to fit in the rest of the spots. The main thing to remember is that you should always have the manufactured edges together and the cut edges against walls or cabinets where they can be hidden by edging or baseboards
- A simple way to determine where to make your cut is to turn the tile upside-down on the full tile and put the edge against the wall/cabinet. Make marks on each edge where the upside-down tile meets the full tile, plus the width of your spacer. Draw a line across the tile between the marks and make your cut.
- You can make all of your cuts at once, and simply put a number on the back of the tile and on the spot on the floor so you know where they go
- Install all of the cut tiles the same way as the full tiles, again making sure the manufactured edges are together, and using spacers. Sometimes your cuts might not be perfect, such as the spacers won’t fit or the gap by the wall is to big, so you might have to do some of them again. It happens to us all
- Quick note: As you install the tiles, make sure that mortar doesn’t come up between the tiles. If it does, clean it out before it dries as it will affect the installation of the grout
- Let the mortar dry completely. Again, inspect the gaps between the tiles and clean out any mortar but be careful not to scratch the tiles
- If you are using mix yourself grout, mix it according to the directions
- Get a bucket of clean water and a sponge ready
- Using your grout float, apply the grout in between the tiles, working with the float at about a 45 degree angle and working diagonally across the gaps. Try not to get too much grout on the main part of the tiles
- If you are doing a large area, you may have to stop adding grout and clean your previous area before completing the entire area.
- To clean the grout, take a damp sponge and wipe away the grout from the tiles, and smoothing out the grout lines so they are slightly lower than the tile edges. Wipe the tiles clean as well. You may have to change your water a few times as dirty water will leave a cloudy residue on the tiles
- Continue this process until all of the grout lines have been filled in and he tiles are wiped clean
- After the grout has dried sufficiently, according to the manufacturer’s specifications, apply the grout sealer to the grout lines only
- Once everything has had sufficient time to dry, you can add the baseboards/trim pieces, or caulk the edges to hide any cut lines
Installing the dishwasher
This is the one part of this kitchen renovation that I hired someone to help with. The house didn’t have a dishwasher when we bought it, so we hired an installation company to create a spot in the cupboards for the dishwasher, add an electrical outlet, and do the plumbing changes. This entire process only took a couple of days and when it comes to electrical work like this, you should hire a professional.
However, if your house already has a dishwasher and you just want to update it with a new one, it may be as simple as:
- Unscrewing the dishwasher from the counter
- Disconnecting the water supply and drain hose
- Unplugging it (as long as it isn’t hardwired directly to the electrical)
- Removing the old dishwasher
- Unwrapping the new dishwasher
- Plugging it in
- Connecting the drain hose and water supply
- Attaching to the counter
Again, if the dishwasher is hardwired into the wall, you should get an electrician to either connect the new dishwasher to that electrical line, or add an outlet for that line and add an adapter to the dishwasher so it can be plugged in normally
Updating Light Fixtures
Another project that you may want to hire a professional is replacing light fixtures. If they are simple, small light fixtures, you can do them yourself, but larger, heavier light fixtures, are best left to the professionals. Our kitchen fixtures were small, so I decided to change them myself. This is something I have done many times before so I knew what to expect.
Tools needed for light fixture installation


- Light Fixture – make sure it provides enough light for the area and doesn’t hang down too far
- Screwdriver – one with different heads is best just in case
- Pliers – To strip wires and cut them
- Voltage tester – To check to make sure there is no power to the fixture
- Wire connectors – To connect the wires together (should already be some on the existing connections)
Steps to replace a light fixture
- Turn off the breaker for the light fixture, or the power to the house if you aren’t sure
- Take out lightbulbs and remove any parts of the fixture you can to make it lighter
- Unscrew the fixture from the ceiling. It may be a good idea to have a helper hold the fixture while you disconnect the wires
- When you can see the wires, I like to take a picture of how they are connected to refer to when you connect the new fixture, also use the voltage tester to make sure the power is indeed off to the fixture
- Disconnect the wires and set the old fixture aside. There may be a safety wire connected to the fixture and the ceiling to prevent it from falling to the ground. Disconnect this as well
- Unpack the new fixture, if it is a hanging fixture, you may need to adjust the length of the chain based on the height of your ceiling
- If the new fixture has a safety wire, connect that first, again having a helper hold up the fixture
- Connect the fixture wires to the house wires the same way they were before, referring to your pictures if necessary. You may need to strip the ends of the wires and possibly cut them shorter, so use the pliers for this. Screw the wire connectors onto the connections to keep them secure
- Screw the fixture into the ceiling
- Install light bulbs and attach any other parts to the fixture, such as covers
- Have someone watch the fixture while you turn the power on. Nothing should happen if the installation is correct. If there are sparks of any kind, turn the power off again and call an electrician
- Turn the light switch on and enjoy your new light
All of these projects may seem intimidating, but if you take your time, you can definitely do it yourself. I spent countless hours researching how to do these renovations myself, and I did make some mistakes along the way. Don’t be worried about mistakes, they happen, and you can fix them and nobody will be the wiser. The best part about DIY jobs is he pride you feel when it is done and from the comments people make. The money you save is great too, as you can use that money for the next renovation!
Please continue to follow the blog, as I will share many more of my DIY projects. For a complete list of the Tools in my own personal toolbox, click here. Happy renovating!
This site contains product affiliate links. We may receive a commission if you make a purchase after clicking on one of these links.