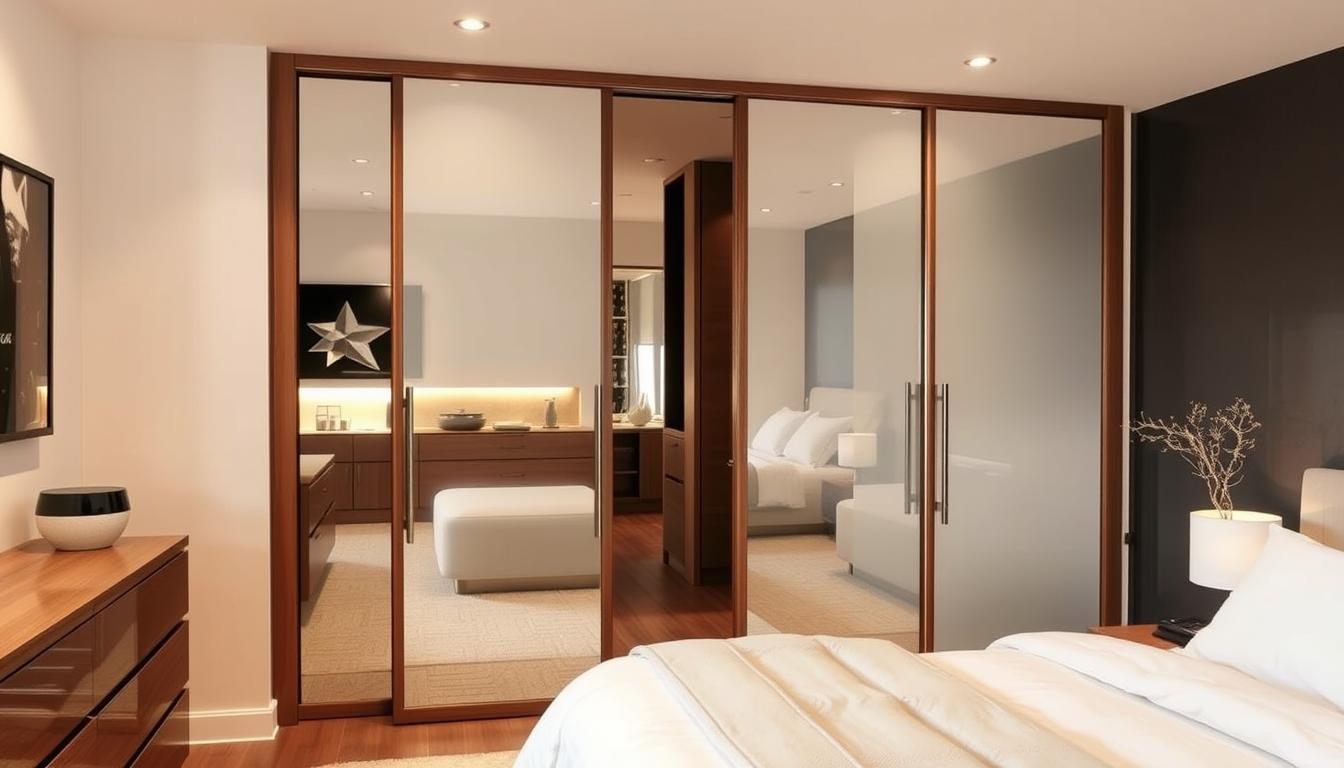
When I bought my new home, I new I was going to be living in a much smaller space. The house had bi-fold doors everywhere, not just the closets, but the bedrooms as well. Being in smaller bedrooms and tighter spaces, these bi-fold doors were not practical. They would get in the way of furniture, wouldn’t stay closed, and just didn’t look good. I went about replacing the room doors with standard doors, which I will go over in another post. After that I started installing sliding closet doors. Smaller rooms also meant less wall space for mirrors, so I also took this opportunity to install sliding mirrored doors on some of the closets. In this guide, I’ll show you how to install sliding closet doors from gathering tools to aligning the doors.
Key Takeaways
- Sliding closet doors are a space-saving and modern solution for closet organization
- With the right tools and materials, you can easily install sliding closet doors yourself
- The installation process involves preparing the space, installing the door tracks, attaching the roller brackets, and aligning the doors
- Bifold closet doors are another option that can be installed with similar steps
- Following a step-by-step guide can help ensure a successful sliding closet door installation
Gathering the Required Tools and Materials
Before starting your sliding closet door project, make sure you have everything you need. This step is key to a smooth and successful installation.
Tools Needed
You’ll need some basic tools for the job. These include:
Building Materials Required
You’ll also need specific materials for your project. These are:
- Top and bottom guiding tracks (or floor guides)
- Roller brackets
- Sliding doors
- Screws or nails
- Door hardware
Having all the right tools for installing sliding closet doors, sliding closet door hardware, and sliding closet door components ready will make the installation go smoothly.
“Having all the right tools and materials on hand is the key to a successful sliding closet door installation.”
| Tool | Purpose |
|---|---|
| Screwdriver | Securing screws and fasteners |
| Drill | Creating pilot holes and mounting components |
| Hacksaw | Cutting tracks to the desired length |
| Measuring Tape | Ensuring accurate measurements for a proper fit |
| Marker or Pencil | Marking installation points and measurements |
Preparing for Installation
Before starting the installation, it’s important to get your closet ready. This step ensures a smooth and successful installation. It sets the stage for a polished final look.
First, measuring the closet opening is key. Accurate measurements help choose the right size for your sliding doors. Measure the width of the top and bottom of the frame, and the height. This detail ensures your doors slide smoothly and perfectly.
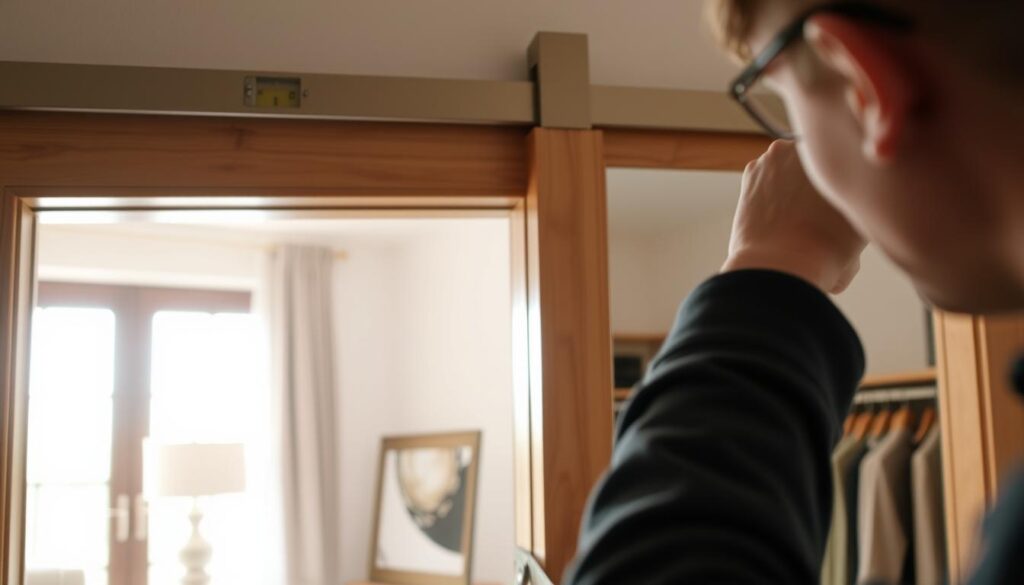
Also, check that the top door jamb or frame is smooth, level, and free of any obstructions. Any issues here can cause problems during installation. So, fix them before you start.
- Measure the width of the top and bottom of the closet door frame
- Measure the height of the closet door frame
- Ensure the top door jamb or frame is smooth, level, and free of obstructions
By measuring for sliding closet doors and preparing the closet for sliding door installation, you’re ready for success. These steps help avoid surprises and ensure your doors fit well in your closet.

“Careful preparation is the key to a successful sliding door installation. Take the time to get the measurements right, and you’ll be rewarded with a beautiful, functional result.”
Installing the Door Tracks
Getting ready to install the sliding closet door tracks is key. You need to measure, cut, and mount them right. This ensures your closet doors slide smoothly. Let’s look at how to do this important part.
Cutting the Tracks
Start by measuring your closet’s top and cutting the tracks to fit. Use a hacksaw to trim them, leaving a 1/8-inch gap on each side. This gap helps the tracks fit perfectly, even if your closet isn’t exactly right.
Mounting the Tracks
Now, cut tracks in hand, it’s time to attach them. Place the upper track in the middle and drill holes before screwing it to the wall. If your doors have a fascia strip, it snaps onto the front of the track for a neat finish.
For the bottom track, you have choices. If your floor is solid, screw the track right onto it. But if it’s carpeted, use a wood strip under the track for a stable, even setup.
By cutting the sliding closet door tracks right and mounting them securely, you’re almost there. Take your time with this step. You’ll get doors that slide smoothly for years.
Attaching the Roller Brackets
Installing sliding closet door rollers is key for smooth door movement. Some doors come with brackets attached, but others need them installed separately. Always follow the manufacturer’s instructions when attaching roller brackets.
When attaching the brackets, place them at least 2.5 inches from each door end. This ensures the doors move freely without sticking. Properly installed sliding closet door rollers make opening and closing doors easy.
Adjusting the roller brackets can also improve door movement. A bit of fine-tuning can make a big difference. With the right adjustments, your sliding closet doors will work smoothly and look great.
| Tool | Material |
|---|---|
| Screwdriver | Roller brackets |
| Level | Mounting screws |
| Measuring tape | Drill |
By following these steps and using the right tools, you’ll install sliding closet door rollers successfully. This ensures your doors operate smoothly and efficiently.

“A well-functioning sliding closet door can make all the difference in the world,
transforming a cluttered space into an organized haven.”
Installing the Sliding Closet Doors
Now that the tracks and roller brackets are ready, it’s time to hang sliding closet doors and place sliding closet doors on tracks. You might need a helper to tilt and position the doors correctly.
- Start by tilting the first door back and attaching the wheels to the upper track’s back groove.
- Swing the door’s bottom inward. This lets the spring-loaded guides snap into the lower track’s center groove.
- Do the same for the second door, making sure it slides in front of the first one.
Take your time to make sure the doors are aligned and secure on the tracks. This ensures they slide smoothly and without problems.
“Properly installing sliding closet doors is key to ensuring they function correctly and last for years to come.”
After installing both doors, adjust their alignment and the spring-loaded guides’ tension. With patience and care, your sliding closet doors will be ready to use soon.
Adjusting and Aligning the Doors
After installing your sliding closet doors, you might need to tweak them a bit. This ensures they slide smoothly and look great. Getting the alignment right is key for both looks and function.
First, check the door tracks for any blockages or uneven spots. These can make the doors stick. Use a level to make sure the tracks are straight and level.
- Find the adjustment screws on the roller assembly. These let you tweak the door’s height to fit the jamb perfectly.
- Turn the screws to adjust the door’s height. This helps it fit snugly without gaps.
- After adjusting, test the door’s balance. It should slide smoothly without any hitches.
If adjusting your doors is tough, don’t hesitate to ask for help. A pro can guide you and make sure your doors work well.
By focusing on adjusting and aligning your doors, you’ll get a closet that’s both useful and stylish. Paying attention to these details will ensure your doors work well for years to come.
how to install sliding closet doors
Installing sliding closet doors is easy if you follow the right steps. Make sure to read the instructions carefully and measure accurately. This way, you can avoid common problems and have a smooth installation.
Here are some sliding closet door installation tips and solutions for common sliding closet door installation problems.
Sliding Closet Door Installation Tips
- Always read the manufacturer’s instructions carefully and follow them step by step.
- Measure the opening precisely to ensure a proper fit for your sliding closet doors.
- Level and plumb the door tracks to prevent the doors from binding or rolling unevenly.
- Lubricate the door rollers and track system periodically to maintain smooth operation.
- Adjust the roller brackets as needed to align the doors and minimize any gaps or uneven spacing.
Common Sliding Closet Door Installation Problems
- Doors Binding or Sticking: This issue is often caused by misaligned tracks or rollers. Adjust the roller brackets or shim the tracks to ensure the doors move freely.
- Doors Not Closing Properly: Check the alignment of the doors and ensure the tracks are level. Adjust the roller brackets as needed to achieve a proper fit.
- Doors Jumping Off the Tracks: Verify that the tracks are securely mounted and that the doors are properly installed on the rollers. Ensure the tracks are clean and free of obstructions.
- Excessive Gaps or Uneven Spacing: Adjust the roller brackets to align the doors and minimize any gaps or uneven spacing between the doors and the frame.
If you face any ongoing issues during the sliding closet door installation, seek help from a local home inspector or a professional installer. They can offer expert advice and help you overcome any challenges.
“Attention to detail is the key to a successful sliding closet door installation. Take your time, follow the instructions carefully, and don’t be afraid to make adjustments as needed.”
Bifold Closet Door Installation
This guide mainly talks about installing sliding closet doors. But, bifold closet doors are also popular. They fold together when opened. Let’s explore how to install bifold closet door installation.
Bifold Door Preparations
First, measure your door opening carefully. Make sure you have the right bifold door kit. This kit usually includes the door panels, pivot brackets, and hardware. After getting everything, cut the tracks to fit and mount them on the door frame.
Fixing the Bifold Doors
Then, attach the pivot brackets to the door panels. This lets the doors fold and unfold smoothly. Hang the door panels on the tracks, making sure they move well. You might need to tweak the brackets and hardware for perfect alignment and smooth operation.
Bifold vs sliding closet doors have different looks and uses. Bifold doors are good for small or tight spaces because they need less room to open and close. Your choice between bifold and sliding doors depends on your closet’s needs and your style.
Conclusion
Installing sliding closet doors is a rewarding DIY project. It can change the look and function of your home. By following the steps in this guide, I successfully installed my doors. Now, I have more storage and a modern look.
To keep my doors working well, I regularly maintain them. I check the tracks for debris, lubricate the rollers, and make any needed adjustments. This keeps my doors looking good and working smoothly.
If you want custom sliding closet doors or need help, talk to a local expert. They can offer great advice and help you find the perfect doors for your space. With the right tools and effort, you can also have beautiful sliding closet doors in your home.
FAQ
What tools are needed to install sliding closet doors?
What building materials are needed for sliding closet door installation?
How do I measure for sliding closet doors?
How do I install the door tracks?
How do I attach the roller brackets?
How do I install the sliding closet doors?
How do I adjust and align the sliding closet doors?
What are the key steps for installing bifold closet doors?
This site contains product affiliate links. We may receive a commission if you make a purchase after clicking on one of these links.


