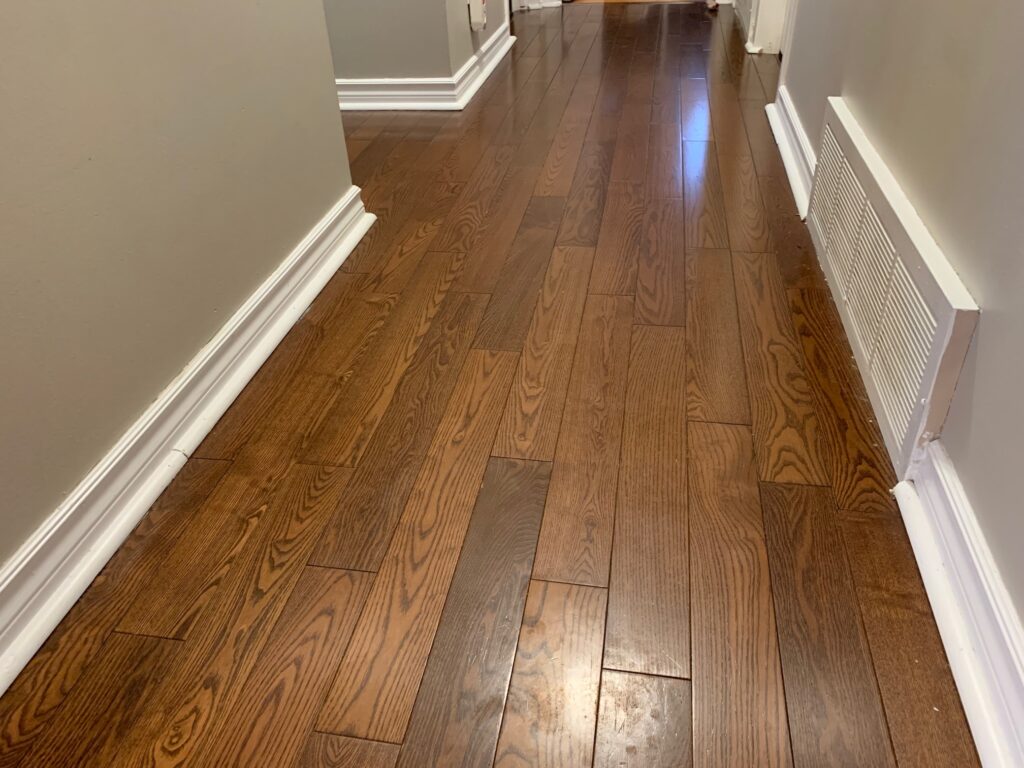
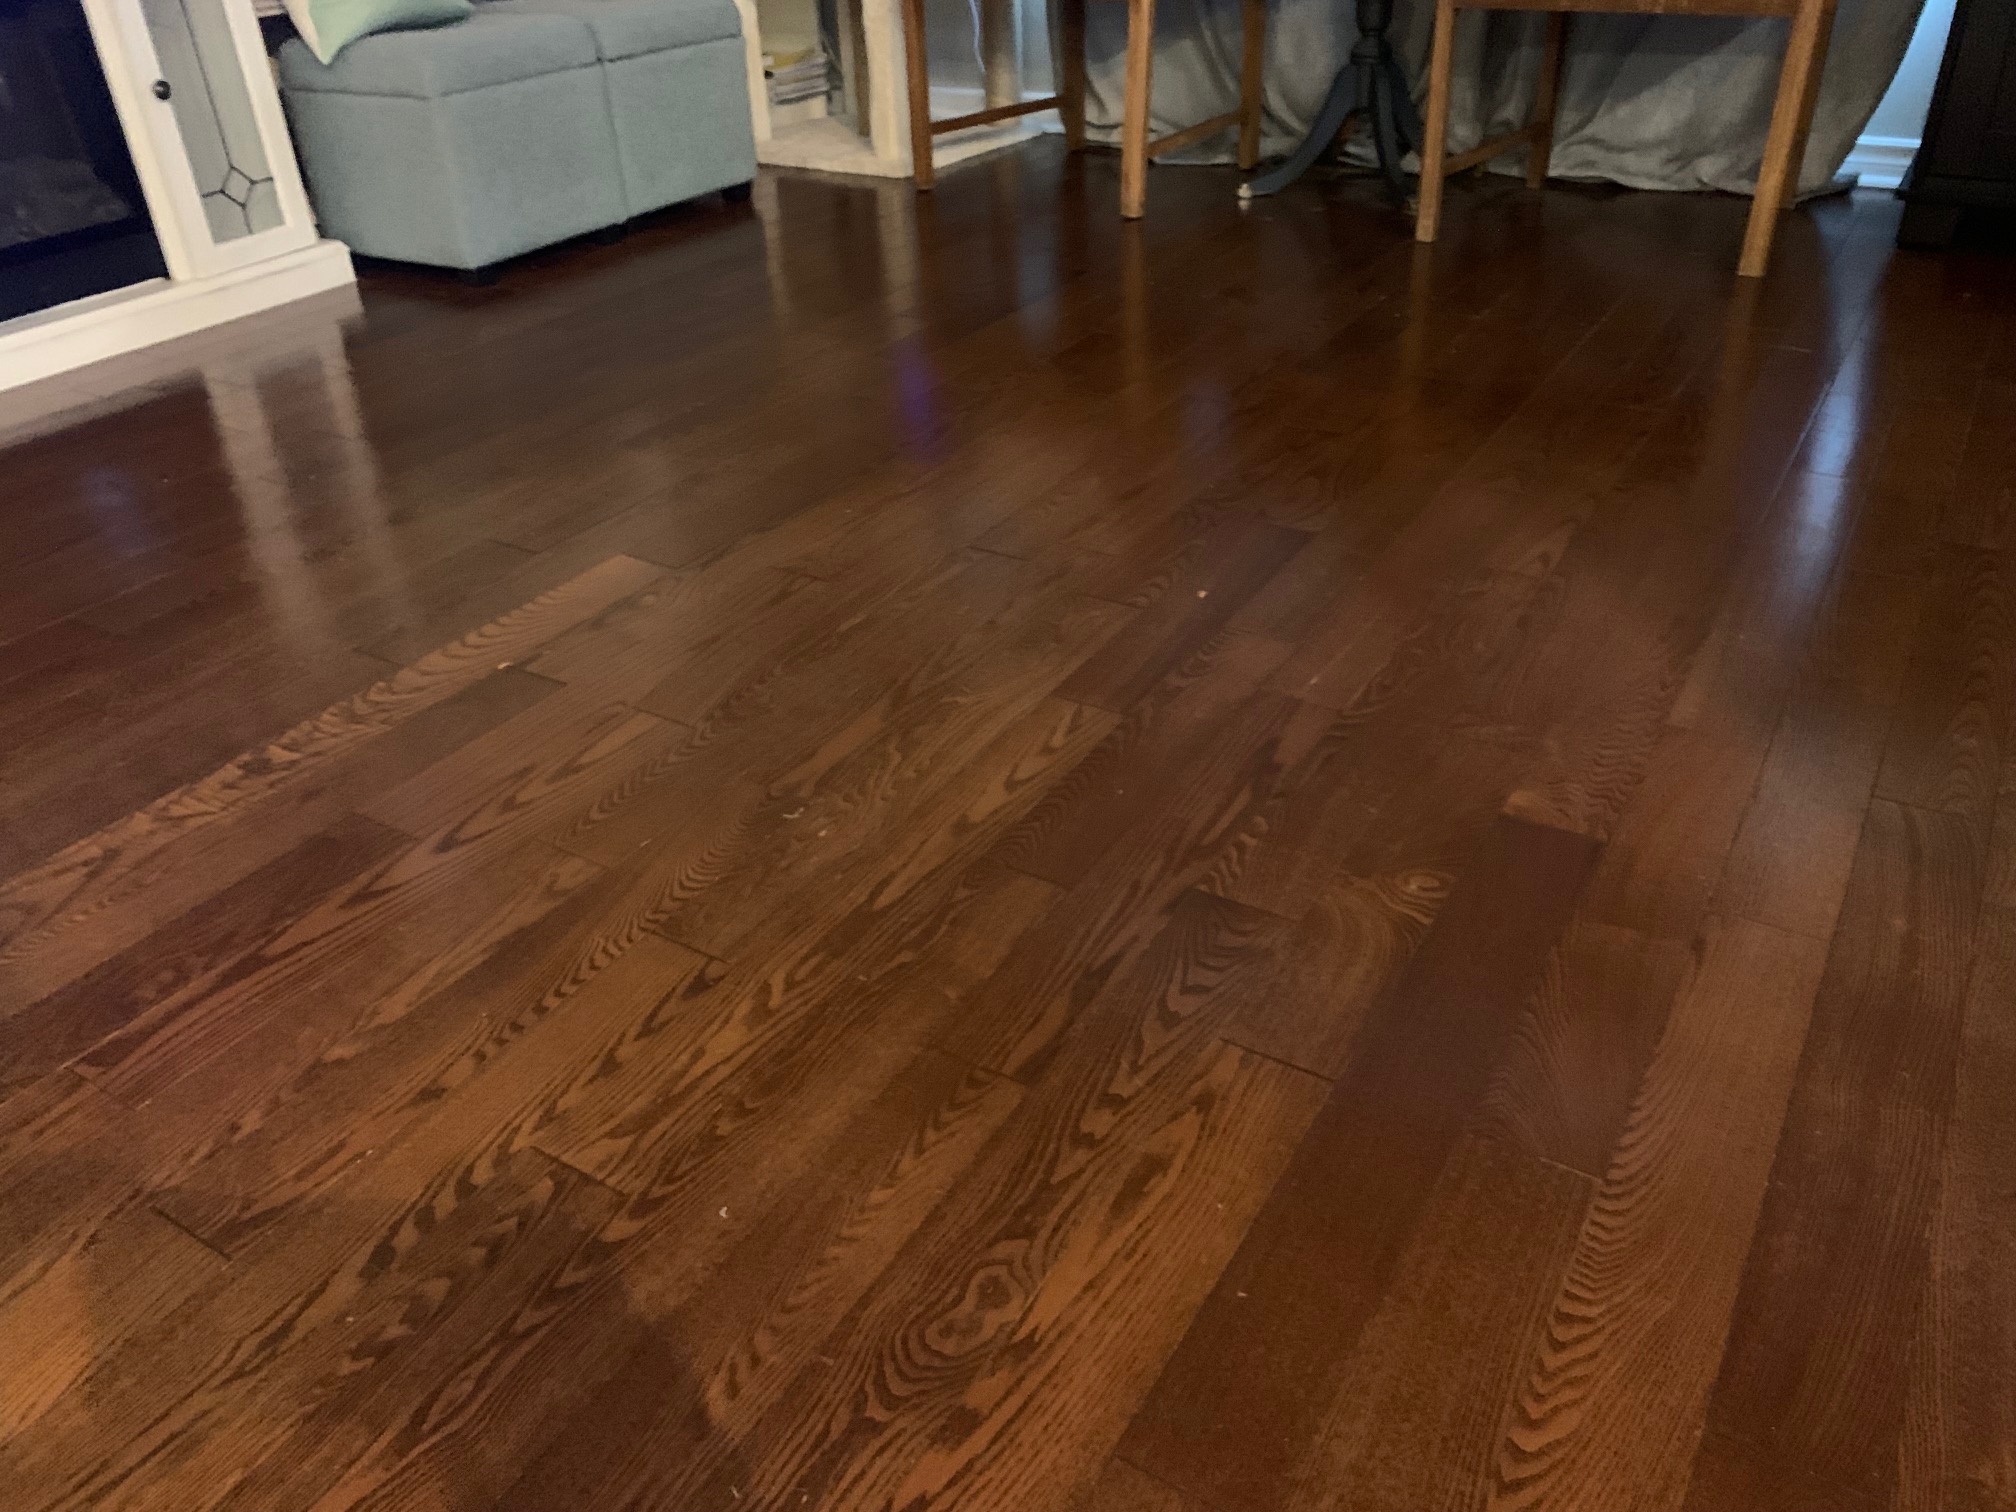
When we bought our house, we knew the carpet needed to go in the living room, dining room and hallway. It was old, worn, and not the best colour. I had installed laminate flooring before, but never hardwood, so I thought I would give it a try. I had priced out having it installed, and it basically doubled the cost, so it made sense to install the hardwood floors myself. I bought the flooring, rented some tools, took a week off work, and got started. Including the weekends, I had 9 days for this job which I thought was plenty of time. This is how installing hardwood floors went for me.
Removing the old flooring
The first task of this big job was removing the old flooring, which in this case was carpet. I have a full post dedicated to how to remove carpet, which you can find here. It will go over the tools you require and how to best remove and dispose of the carpet.
It was a dirty, dusty job, but at the end of day 1 I had the carpet removed from the living room, dining room and hall.
Dealing with the Subfloor
Under the carpet was a wonderful particle board subfloor. I knew it had to go so I had a solid subfloor to nail the hardwood to. I started prying up the subfloor with a crowbar. The subfloor was coming up nice and easy, until I got closer to the hallway. For some reason, there were a bunch of headless screws in the particle board. The first few weren’t much of a problem as I had enough leverage to pop the screws through the particle board. However, in the hall, the screws started to get closer together and there were more of them. I ended up having to use a chisel to get the subfloor out, small bits at a time.
What were these headless screws for? I hit the internet and found out that they were used to fix squeaky floors. The screw is driven through the carpet from above and into the floor joists to stop the squeak, and then the screw is purposely broken off to hide them, and you don’t feel them through the carpet. A great idea, until you want to remove them.
So once the final pieces of the particle board subfloor were removed, I was left with a few dozen headless screws to remove. I got out my needle nose pliers and attempted to unscrew one. I could barely get it to turn, so I tried another. After a few attempts I finally found one I could turn. I kept turning until I got it removed. It was almost 3 inches long! It was going to take hours to remove them all and I only had a week to finish the entire job. So ended day 2.
That night I had an epiphany. Instead of unscrewing them all, why don’t I just cut them. In the morning I got my pliers with the cutter on them and attempted to cut one. I guess I was much stronger in my dream because I could not cut the screws. Time for plan C. Yet another epiphany came, I could use an angle grinder to cut them! If only I had one! Off to the hardware store to buy one. In what will be a common theme in this journey, I didn’t really know much about angle grinders, so I only bought one cutting disc. I got back and started cutting the screws. Sparks flew everywhere but the job was getting done. After cutting a few screws I realized the cutting disc was wearing away. The more I cut, the smaller the disc became. I was going to have to go back to the hardware store to buy more cutting discs! I bought a few this time, and by the end of day 3 I finally had removed all of the screws and was ready to put in the new plywood subfloor.
Acclimatizing the new hardwood flooring
Before I started my fight with the subfloor, I had done one important thing. I had brought all of the boxes of the hardwood flooring into the house and put them in the kitchen. It is imperative that the flooring get acclimatized to the environment of the house. It needs to be at the same temperature and moisture level as the house before you install it as it will expand or contract slightly. At first I started piling it in the living room but realized I had to remove and install the subflooring which would be difficult with piles of boxes of flooring on it! Ok, back to the subfloor.
Installing the new Subfloor
In one of the more uneventful days of this project, day 4 consisted of installing 1/2 inch 4 ft x 8 ft plywood panels for the subfloor. I started with the complete sheets first and then did the cut pieces all at once. I used a circular saw and sawhorses to make the cuts, and a cordless screwdriver with 1 3/4 inch screws. I staggered the seems of the plywood sheets as well to improve the strength. The only thing looking back that I would change was I should have glued the plywood down as well to help with squeaks, but I used screws, not nails which should help. Day 4 done, and I still haven’t installed any hardwood!
Finally the Hardwood!
After all the trouble I had getting to this point, I was excited to start the hardwood. I got my tools ready and started planning my steps. Being young and fairly new to the home improvement scene, I chose a manual floor nailer instead of the air powered one. It was cheaper to rent and I figured I could handle it. Big lesson learned! The mechanism is the same, you hit the nailer with a rubber mallet and it drives the nail into a groove in the edge of the flooring. The big difference is with the manual one, it is your power that drives the nail, with the air powered nailer, it is the air compressor that drives the nail. Everything started well enough, but as I got tired, I started hitting the nailer with less power, or slightly off centre so the nails sometimes wouldn’t get completely driven into the wood. I ended up having to come back with a hammer and a nail set to hammer the nails the rest of the way. This slowed my progress considerably. If I didn’t get the nails completely driven in, the next row of floor boards wouldn’t fit flush.

My living room/dining room is “L” shaped, so I started in the corner of the dining room, and worked my way towards the living room. I had to make sure I was square to the first wall when I started or else I would be crooked when I got to the living room and the hallway would have been a nightmare. Luckily I met my chalk line perfectly and everything lined up. A little double checking and extra measuring goes a long way.
In the end, the actual hardwood installation took 4 more days, so I was finishing it off after work the last few days.
Stairs and Transitions
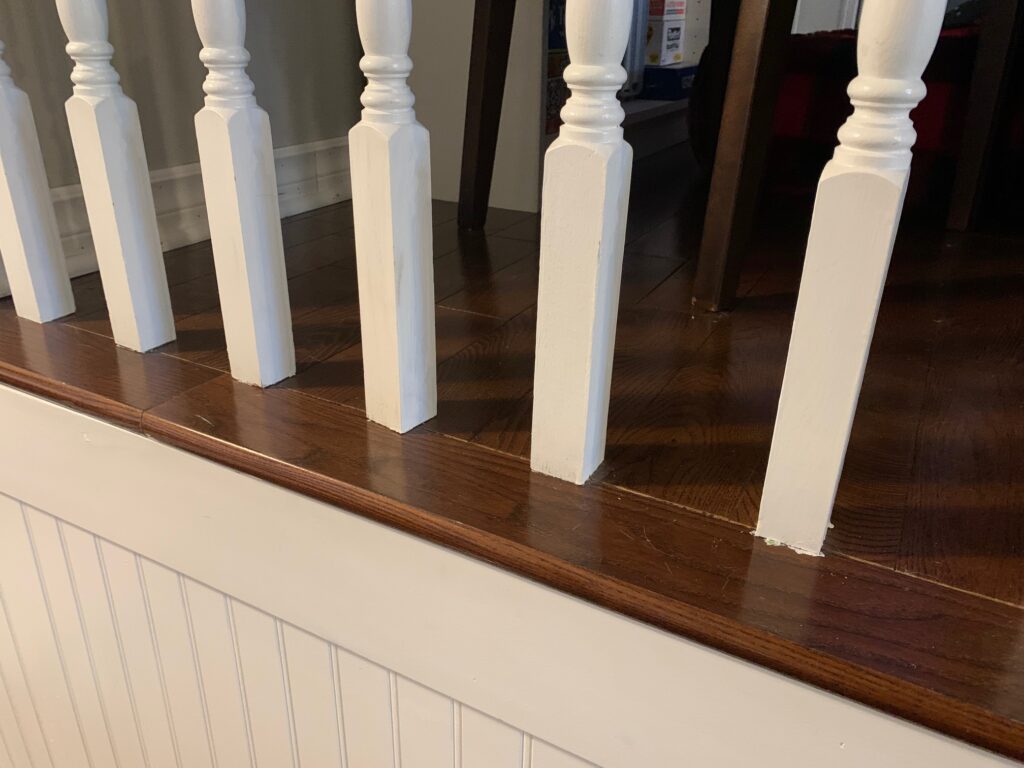
My house is a raised ranch so there is a staircase in the living room and open railings on each side. These railings needed to be removed and then reinstalled after the flooring was installed. I also needed finished edge pieces of the hardwood for the exposed ends of the floor. These were available at the same place as I bought the flooring so make sure they are available in the same colour as your hardwood if you need them. These edge pieces are slightly different from the regular hardwood because they don’t have a groove to nail into. I ended up gluing them down and adding a few nails as well. It took a few tries to find nails strong enough to get through the hardwood pieces, and I ended up having to buy another edge piece because one was damaged figuring this out.

So now that I had all of the hardwood and edge pieces nicely installed, I now had to drill holes in the nice new floor for the spindles of the railing. Talk about stressful! All that work and I had to wreck it. I made sure to punch a starting hole for the drill bit to prevent the bit from slipping and scratching the floor. I was able to successfully drill all of the holes without incident. Lastly I had to secure the corner posts for the railing with screws and install install the railing itself. The new flooring was slightly thicker than the old carpet so the wall needed a bit of a repair where the railing was originally connected to the wall as it was now slightly above the old spot.
The final touch was a transition piece between the living room/dining room and the doorway to the kitchen, and to each of the bedrooms and bathroom in the hallway. There are a few ways to do this transition. If the floor level is the same, you can put a piece of the hardwood across the doorway to fill the gap. If the floor levels are different, then a slopped transition can be purchased, similar to the edge pieces, and that will give a smoother transition between the different floor heights.
Final Touches
Now that all of the flooring is done, the railings are installed and all of the transitions are finished, the final touch is to put floor trim around the walls to cover the gaps between the floor and the walls. This was done a few weeks later, as we wanted to get our living room and dining room furniture into the house and start using the rooms. It probably would have been easier to do it all with the rooms still empty, but I just moved the furniture away form the walls and worked around everything. I did the corner cuts with my mitre saw outside to keep things cleaner as well.
Summary
This was the first major renovation I did on my new house. It took slightly longer than I expected, but I learned a lot of helpful things along the way that I have used in other renovations. In the end I saved about $2000 doing the job myself, factoring in what the installation would have cost and the additional costs incurred along the way for various tools and materials. It was an intimidating job to take on, but overall was not that difficult.
For a complete guide on how to install hardwood floors yourself, check out DIY Guide: How to Install Hardwood Floors


